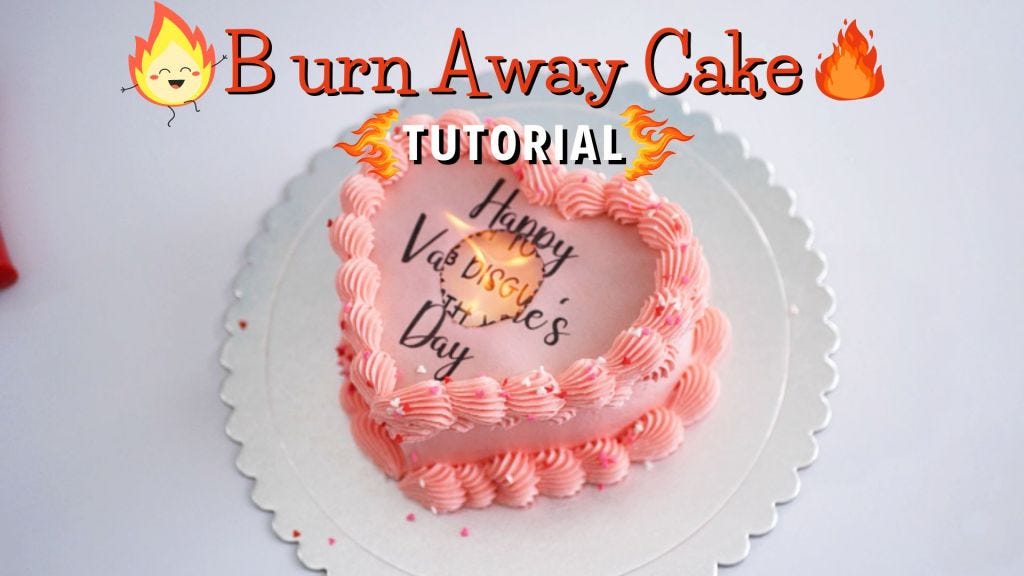
Tutorial on successfully decorating a "Burn Away Cake/Fire Cake" without failing! Includes tips on how you can achieve this magical cake without an edible image printer and alternative ways of decorating.
Disclaimer: This post includes affiliate links! Clicking and purchasing from these links help me fund my research and provide you with some free recipes, tutorials, and information. These links won't cost you anything. I only recommend products I genuinely enjoy and wouldn't endorse otherwise. Thank you! :)
I'm going to show you how to create the viral burn-away cake that's super “hot” right now (get it? HAHA). This cake is also known as a burn-away cake, burn cake, fire cake, or burn and reveal cake. You only need four main ingredients: wafer paper, an icing sheet, a cake to decorate, and a lighter. It may seem like you need a degree from Hogwarts, but this technique is actually quite achievable. Making this cake is a fantastic way to give people the illusion of magic!
Here is a Youtube Tutorial in case you’re a visual learner like me :)
What are burn away cakes (also known as Burn Cakes)?
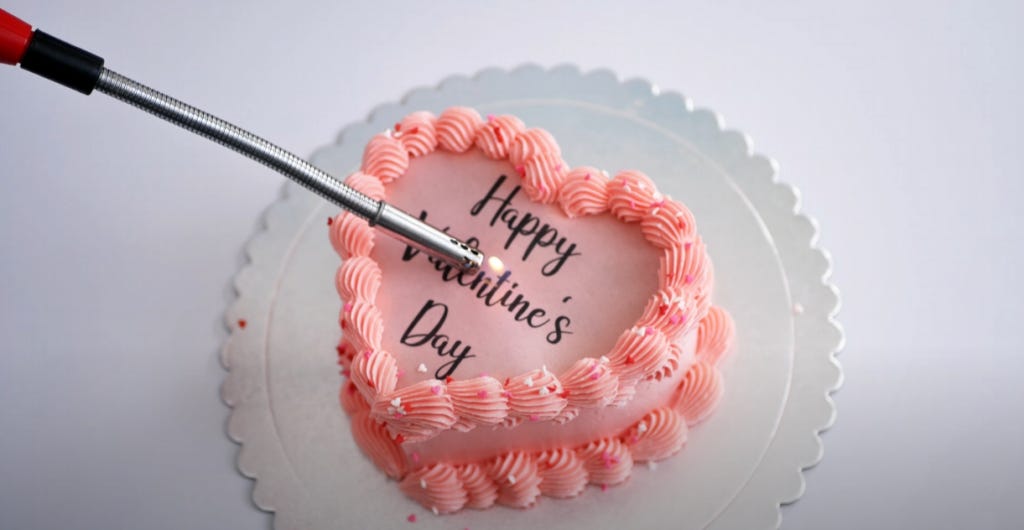
These magical cakes would be the perfect celebration cakes! The not-so-secret trick to them is using a thin wafer paper (usually about 0.25mm) to set on fire and you watch it burn away to reveal your message or image.
Materials You Need to Make a Burn Away Cake
Edible Paper
Edible Icing Sheet I recommend (bottom image on cake)
Wafer Paper I recommend (top sheet that you burn): this was the only one I could find on amazon is 0.30mm but should still work)
If you want to order in bulk, this is where I usually purchase my edible paper and ink
Cake Decorating Tools
Cake turn table (with spatula and icing comb)
Cake turn table (spatula, icing comb, piping bags and tips):
How to Put the "Burn Away Cake" Together
Start with your frosted cake base and make sure the top is frosted and flat
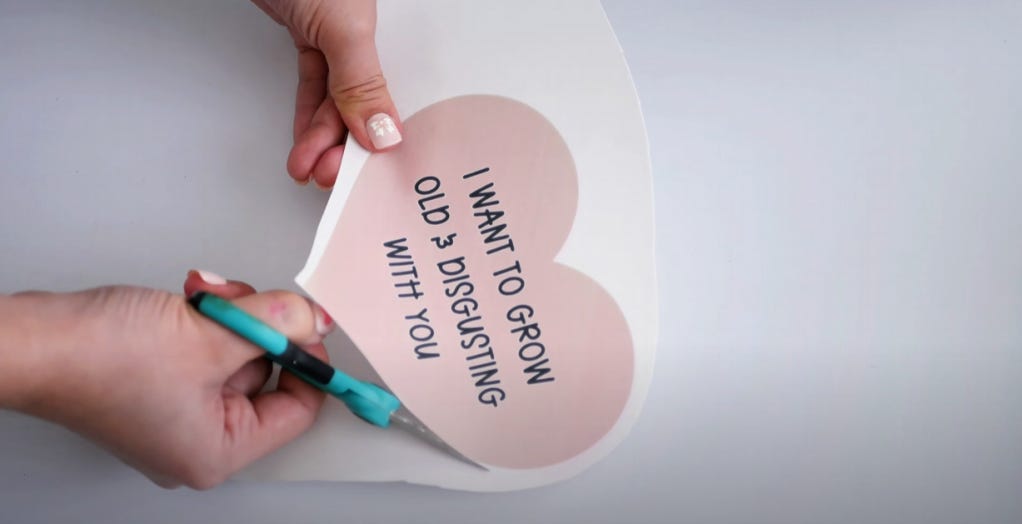
Cut out your edible image (and peel off any plastic backing it might have, you don't want to eat that, haha!)
Place your edible image on top of the frosted cake and gently press into it so the image sticks. If you haven't frosted the sides of the cake yet, you can do that now before piping on the frosting borders.
4. Pipe on your frosting border at the edges to cover the ends of the edible image cut out so it looks seamless.
5. Cut out your wafer image (the one you will "burn away").
6. Place the wafer image on top of the first frosting border.
7. Pipe your second border of frosting to hide the edges of the wafer image so it looks seamless.
8. Now your cake is ready to be set on fire!
Make a funny anime themed one for your weeby friends too :)
Variations of the "Burn Away Cake" (You can just use 1 type of paper)
wafer paper + edible image: This is the way the trend started and is commonly done for this Burn Away Cake. It's faster to have an image or text printed onto an edible icing sheet to place at the base and then use wafer paper on top to burn.
Alternatively you can use:
wafer paper + piped base: You can use your frosting of choice to fill and crumb coat. Instead of using an edible icing image as the base, you would decorate or pipe your message in frosting instead. Then finish the process by using wafer on top.
This gives you ability to still have the burning effect but without needing a second type of edible paper.
Using edible ink markers on wafer paper: If you don't have an edible image printer and don't want to invest $300+ in one, this is another way you can prepare this cake. This is the same idea as the wafer paper on top and piping/decorating your own base image using frosting. Using edible ink markers, you can draw or write on the wafer paper directly and place on top.
Frequently Asked Questions
Here are some questions I've received from the video comments that you probably are wondering about too:
Hi! I’m looking to make this cake however my concern is does it end up tasting burnt? - kayafaye4156
Hi! That’s a great question. You might smell the smoke a little from the wafer burning but not a lot, I barely smelled anything personally but for someone sensitive to smoke, I would be careful. As for taste, since it’s only the top layer, you can easily just scrape it off, no problem ! It doesn’t make the cake itself taste burnt unless you eat those small pieces directly
Hi!! Can i use sugar paper instead of wafer paper in both layers?? - seeyasha7691
hihi! if by "sugar paper" you mean the icing sheet that I used in the video for the bottom image (the revealed image after burning the wafer paper), then I don't recommend burning the icing image as it didn't burn the same way and not as nicely as the wafer paper does since the icing image sheets tend to be thicker and are also made with different ingredients not making it "burn away cake" - friendly. If you don't want to bother with having 2 different sheets on hand, I recommend that you have wafer on top to burn and wafer on the bottom (just remember wafer is thinner and also a bit more see through compared to icing sheet). Hope that helps!
But I heard that if you put wafer paper in the fridge to chill it gets ruined - sarahakbar9763
My fridge runs on the dryer side so I don't have this issue with wafer paper or icing image on non-wet icing like swiss meringue but that's a great point! If you plan to make a burn away cake for yourself, then you can check the humidity level in your fridge with a humidity meter. if you don't have then another way to know is if you leave a piece of fondant in the fridge. If the piece of fondant gets sticky then it's likely your wafer would have the same problem and therefore the time you can chill will have to be shorter ~ If the fondant piece ends up being dry (or dry-er) then you should be able to safely chill your cake with the icing sheet and wafer without it "melting" into the frosting or from humidity in your fridge. If this is for an order, then I recommend making sure you have enough space between the image and the edge/border of the cake so when it burns, the frosting that melts doesn't end up covering the message underneath. You can also opt for a crusting buttercream type instead like American style buttercream to avoid putting it in the fridge so you can make the cake ahead of time. Again, just make sure you have space between the border and the text you want to show underneath. Hope that helps! :)
What if you don’t want to invest in edible ink? Can you just use edible pens to write on the edible paper? - laurenhathaway496
love the thrifty-ness! that's a good question if you only plan to do this once since a printer + paper would probably cost over $300+ . What you can do is order it from someone that provides the custom edible images. Etsy has plenty of people who can provide that for you OR you can do what you mentioned. Purchase the edible images (I have links to amazon that you can get) and then use edible pens to draw/write your own. The color may not be as clear as printing it and you have to be careful not to over color one area on the wafer people because it can dissolve. Practice on a few sheets of wafer/icing sheet first but theoretically, it should definitely work because I've done something like that before when I needed the lines to be bolder so I drew over it with an edible ink marker. You can even get food coloring (I recommend gel for more potent colors) and use a paint brush to "paint" on the edible papers. hope that helps! :) have fun~
Hi ! Can I use l cream cheese + butter cream ? No only butter cream - _0jy942
Hi there! Yes you can~ to be honest, I prefer cream cheese frosting anyway but for the sake of the video since most people would decorate in buttercream, I used that. With cream cheese frosting though, you have to be careful because it has more moisture than buttercream so I wouldn't leave the cake full assembled with the edible images on for too long in case it melts. You might be able to get away with holding it in the fridge overnight assuming that your fridge humidity level is not high and your cream cheese frosting recipe is not too "wet" .
Enjoy! :) Please tag @sparklecakerie if you make this! I’d love to see and share your creations <3
Behind the Scenes…
I found wild cherries (?) for the first time walking from the train station and many mulberry trees ripening! I didn’t eat from them because my husband and friends are worried about it, haha but it was so tempting!
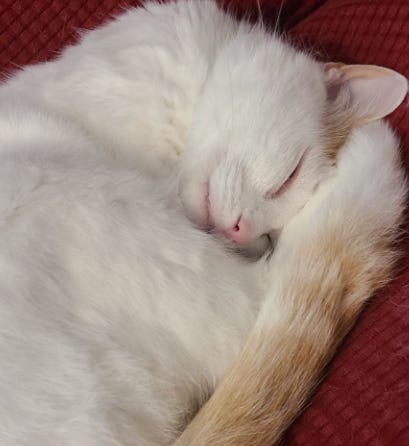
Also our fur baby Duchess is doing a lot better now after having 3 teeth removed. Just an old lady sleeping


