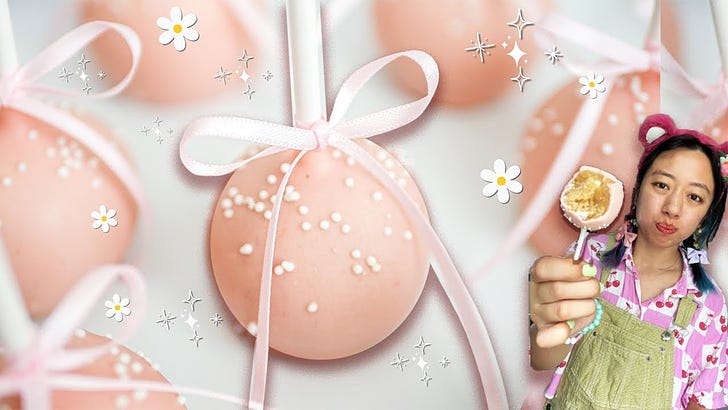
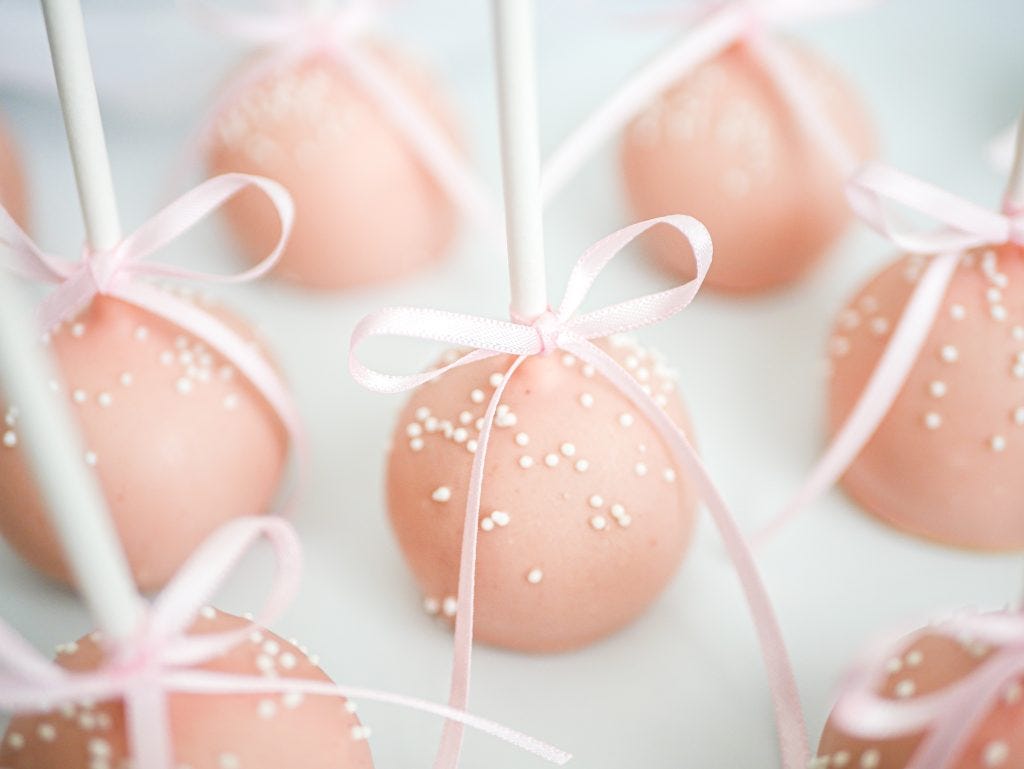
These cute and easy pink cake pops are the perfect addition to your pink-themed party! Just tie on a little bow, and everyone will love how elegant they look. This simple DIY tutorial will walk you through making these pink bow cake pops step by step. If you want a Starbucks-style copycat, you can skip the bow, but adding it definitely makes them even cuter!
A friend asked me to make pink cake pops for her daughter’s birthday, and I had some extra pink ribbons lying around... and that's how the cutest pink bow cake pop design was born. I’m obsessed with how simple it is to tie on the bow—ribbons really do make everything a little more magical and extra cute! Feel free to switch up the chocolate and ribbon colors to match your party theme.
Ease Level
The process is easy, beginners can totally do this but you'll probably need a few practice cake pops to get the chocolate dipping consistency right :) The key is to keep your cake pops cool when shaping and dipping in the chocolate or candy melts. The melted chocolate/candy melts also should be warm enough to be liquid to coat the cake pops but not hot, otherwise it will fall off the cake pops or coat unevenly.Change block type or style
How to Make Cute and Easy Pink Bow Cake Pops
Yield: Makes about 14 pink bow cake pops
Ingredients:
For the pink chocolate coating:
170 grams white chocolate or white candy melts
1 tablespoon vegetable oil or neutral oil of choice
1/2 wafer red candy melt (more as needed) or 1/2 drop red food oil coloring
For the cake ball:
400 grams vanilla cake or cake flavor of choice
1 teaspoon milk or frosting
Instructions
Melt chocolate:
Melt 170 grams white chocolate or candy melts with 1 tablespoon vegetable oil in a silicone cup using a slow cooker on low heat, or a double boiler on the stovetop. While the chocolate melts, get the cake pops ready.
Mix cake scraps:
Place 400 grams vanilla cake into a mixing bowl and mash them together until you can roll a ball without any cracks. If the cake feels too dry, add 1 teaspoon milk as needed but be careful not to overdo it, as too much moisture can cause the cake pops to lose their shape.
Measure out cake balls:
Portion out 28-gram pieces of cake mix onto a tray. They don’t need to be perfect since you’ll shape them after chilling. Place the tray in the fridge for about 30 minutes to make the cake chunks easier to shape into spheres.
Optional: If you’re making different flavors using a vanilla cake base, divide the cake mix into separate bowls and add flavorings individually. To determine the amount needed for each flavor, multiply 28 grams by the number of cake pops you want for that flavor.
Color candy coating (or chocolate):
Stir the chocolate to ensure it’s melting evenly with the gentle heat. To get a light pink shade, add 1/2 wafer red candy melt (more as needed) or half a drop of red food coloring oil. Once the chocolate is fully melted, you can turn off the heat to prevent it from burning.
Roll cake balls:
Remove the tray with cake chunks from the fridge and roll them into smooth spheres. Return them to the fridge and chill for about 30 minutes.
Add lollipop sticks:
Remove the tray with cake balls from the fridge. Dip the lollipop stick into the melted chocolate to coat just the tip, then insert it into each cake ball. This helps the stick stay secure. Repeat for all the cake balls and chill them in the fridge for 15 minutes.
Dip cake pops:
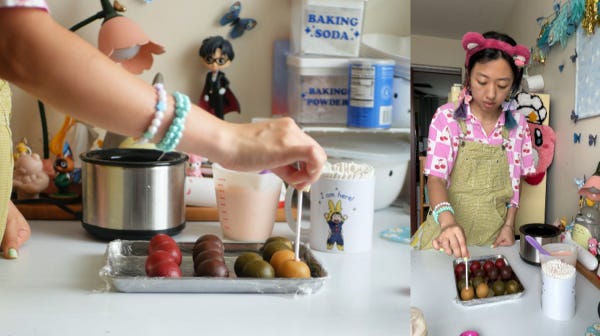
To dip the cake pops in the melted pink chocolate, the melted chocolate should be warm but not too hot. Dip each cake pop into the chocolate until fully coated, then gently shake off any excess in an up and down motion. Use a mini spatula or spoon to remove extra chocolate from the bottom, then place the cake pop on a tray lined with plastic. Before the chocolate sets, add white nonpareil sprinkles on top. Repeat with all the cake pops, then chill them in the fridge for about 30 minutes or until they come off the tray easily.
Add bow:
Tie a ⅛” ribbon onto each cake pop, and you’re all set! Great job!! Your pink bow cake pops look absolutely adorable!!! :) ˖⁺‧₊˚✦
Enjoy! :) Please tag @sparklecakerie if you make this! I’d love to see and share your creations <3


